
This lesson is made with PSPX9
But is good with other versions.
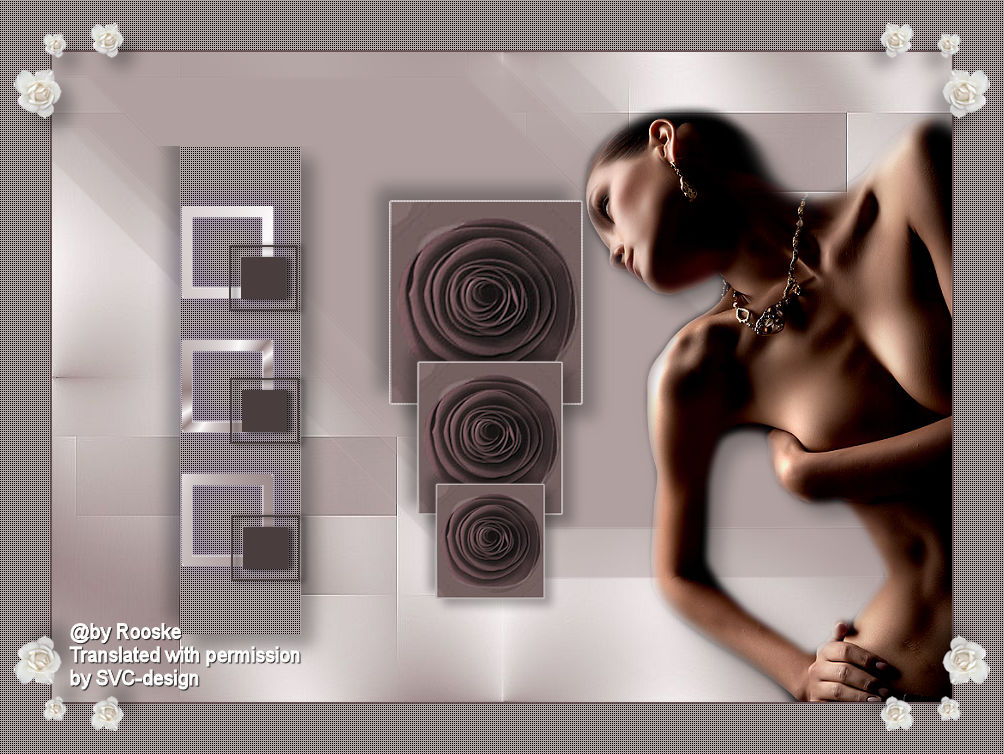
© by SvC-Design

Materialen Download :
Here
******************************************************************
Materials:
06beauty031107.psp
Achtergrond sissy.jpg
Image14.pspimage
Roosjes.psp
sissy_frame.psp
Sissy-selectie1.pspimage
Sissy-selectie2.pspimage
Sissy-selectie4.pspimage
******************************************************************
Plugin:
Plugins - Unlimited – Toadies - What are you
******************************************************************
color palette
:
******************************************************************
methode
When using other tubes and colors, the mixing mode and / or layer coverage may differ
******************************************************************
General Preparations:
First install your filters for your PSP!
Masks: Save to your mask folder in PSP, unless noted otherwise
Texture & Pattern: Save to your Texture Folder in PSP
Selections: Save to your folder Selections in PSP
Open your tubes in PSP
******************************************************************
We will start - Have fun!
Remember to save your work on a regular basis
******************************************************************
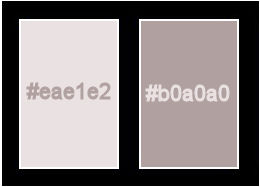
Foreground: eae1e2
Background : b0a0a0
1.
Open a new transparent image of 900x650 pixels
2.
Selection - Select All
3.
Open Achtergrond sissy.jpg
Edit – Copy
Edit - Paste into selection
4.
Selection - Select None
5.
Adjust - sharpness - sharpen.
6.
Layers - New Raster Layer
7.
Selections - Load / Save - Load selection from disk - Sissy-selectie1.pspimage1
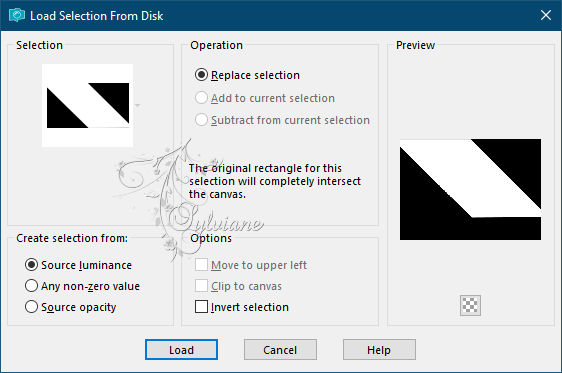
8.
Fill the selection with background.
9.
Selection - Select None
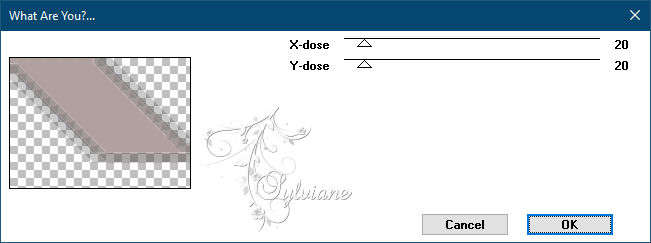
10.
Plugins - Unlimited – Toadies - What are you?
11.
Adjust - sharpness - sharpen.
12.
Layers - New Raster Layer
13.
Selections - Load / Save - Load selection from disk - Sissy-selectie2.pspimage

14.
Fill the selection with background.
15.
Selection - Select None
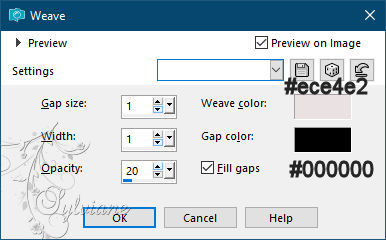
16.
Effects - texture effects - weave - settings: (see screen)
17.
Effects - 3D effects - drop shadow:
13/13/ 30 / 24 color:#000000
18.
Effects - 3D effects - drop shadow:
-13/-13/ 30 / 24 color:#000000
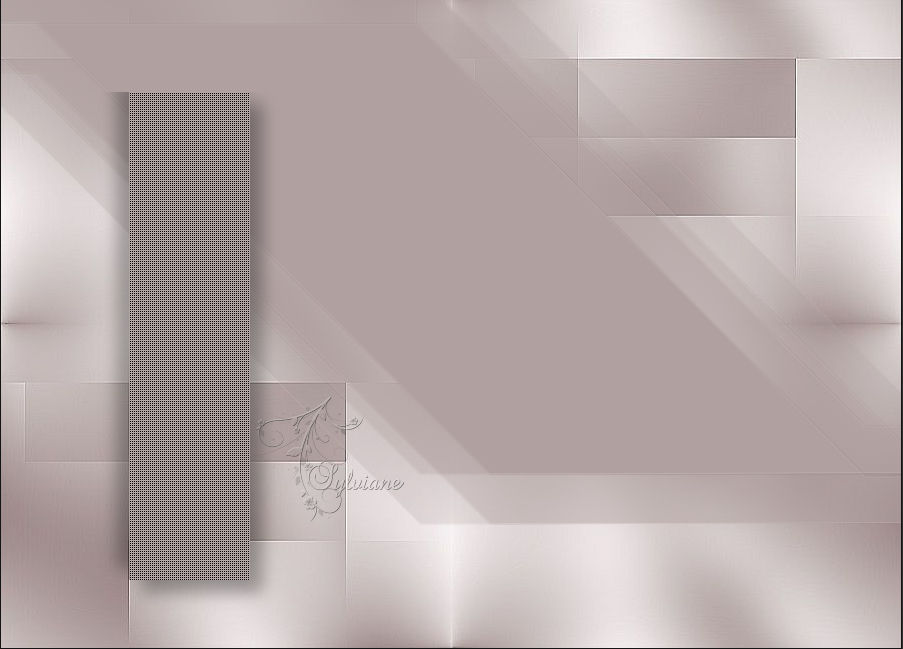
19.
Move the shape slightly to the right and down (see my crea)
20.
Open sissy_frame.psp
Edit - Copy
Edit - Paste as new layer
put them on the shape.
21.
Layers – merge – merge down
22.
Layers - New Raster Layer
23.
Selections - Load / Save - Load selection from disk - Sissy-selectie4.pspimage
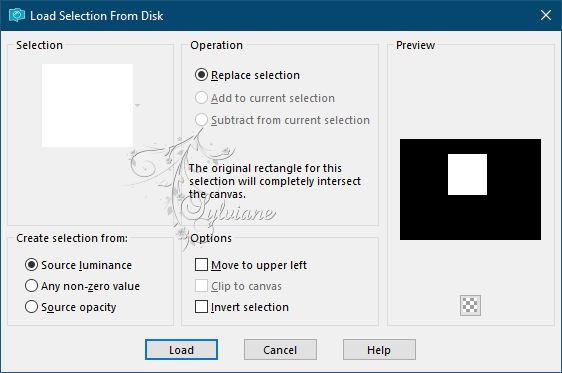
24.
Open Image14.pspimage
Edit – Copy
Edit - Paste into selection
25.
Selections - modify - select selection borders

26.
Layers - New Raster Layer
27-
Fill the border with foreground.
28.
Effects - texture effects - weave: everything is right.
29.
Selection - Select None
30.
Layers – merge – merge down
31.
Resize image 75%, uncheck Resize all layers.
32.
Effects - 3D Effects - drop shadow: as in step 17 and 18.
33.
Open 06beauty031107.psp
Edit - Copy
Edit - Paste as new layer
34-
Put her all the way to the right.
35-
Effects - 3D effects - drop shadow:
13/13/30/ 34 color:#000000
36.
Stand on the layer of the image with the rose.
37.
Layers - Duplicate
resize with 75%, uncheck Resize all layers.
38.
Repeat again so that you have 3 pictures, slide them apart and arrange as in the example.
39.
Layer – merge – merge all (flatten)
40.
Set your foreground to color: #6a5355
41.
Image - Add Borders - 2 pix - color: foreground.
42.
Image - Add Borders - 50 pix – color: background.
43.
Select the border with your magic wand.
44.
Effects - texture effects - as before.
45.
Selection - Select None
46.
Open Roosjes.psp
Edit - Copy
Edit - Paste as new layer
47.
Move top left as corner.
48.
Give drop shadow as above.
49.
Layers - Duplicate
Image - Mirror – mirror Horizontal
50.
Layers – merge – merge down
51.
Layers – Duplicate
Image - Mirror - Vertical Mirror
52.
Put your name on your creation and merge all layers
53.
Save as JPEG
Back
Copyright Translation © 2021 by SvC-Design